Constructing the Twisted Tower
29 November 2024After spending the better part of my free time of the last three months on making the Twisted Tower I wanted to talk a bit about the process. This post contains some vague spoilers for the tower’s solve path and a photo of the solved tower. It’s also very long.
The idea first came to me on the car ride back from Logic Masters, back in June. I was thinking about an idea for a team round at WPC ‘22 that never came to be. I didn’t want to steal that concept, but I was wondering if I could put my own spin on it and somehow ended up with the idea of physically stacking cylinders into a puzzle. The puzzle weekend in Kassel had already been announced at the time and this seemed like a fun thing to make for everyone there. The lesson here is, don’t leave to my own thoughts for three hours with nothing to think about but puzzles.
Anyway. Since I already made the Dreadful Die last year, I was reasonably confident that I could pull off this kind of puzzle, but I was much less sure about being able to make the physical components. I don’t have a lot of experience with any kind of physical crafts project, so I started by asking a bunch of people whether they had any suggestions for materials. I considered 3D printing, but I don’t think the surface would generally be smooth enough to allow writing on it, and I didn’t think I could build something sturdy enough from cardboard. So I ended up deciding to go with paper on wood. Beech seemed like a good choice as it’s very hard and easy to get in a wide variety of shapes. The plan was to order a long rod of the required diameter and find someone around here with a circular saw who could cut it into discs.
There was still the question of how to affix the paper on the wood. I still had a flat piece of beechwood at home and tried a couple of different glues on it but I couldn’t apply any of them in a way where the paper really stuck and didn’t have any bubbles or softened up. Thankfully, someone suggested printable sticker paper around that time, and it just works perfectly. You can write and erase on it just as well as on regular paper and it sticks to the wood perfectly. If I ever do such a project again, this is definitely the combination I’ll be using.
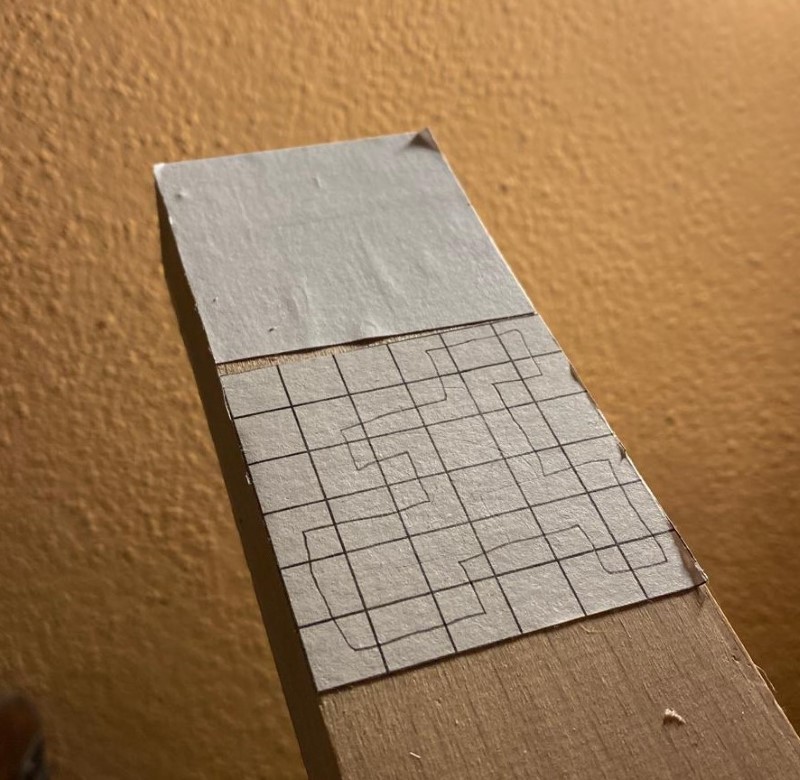
(Regular paper with glue on top, sticker paper below.)
For the next two months, not much happened on the project, because I still had a few other obligations and knew I couldn’t dedicate a solid chunk of time to it yet, but I continued doing some more prep. That included figuring out a good size for the puzzle, starting to think about genres to use and designing the top and bottom grids as they’d have to be bespoke. I knew I wanted each grid to have around 100 cells and the cells were supposed to be roughly 1cm x 1cm on paper for convenient writing. Remembering that 22/7 is very close to π, I settled on 5x20 as the dimensions for the cylinder grids, which I could easily scale up by 10% to 5.5cm x 22cm to put on a cylinder with 7cm diameter and 5.5cm height (as I was planning to get the cylinders cut from a longer rod, I could essentially choose the height freely but needed to stick to a diameter I could easily order).
Knowing the dimensions of each floor, I guessed that 6 floors would be a good height that would still be comfortable to stack while already feeling like quite a substantial tower. It also ensured that there were enough separate parts of the puzzle so the solving could be parallelised fairly well in a team setting.
Two other things I decided early on were (a) that solvers would have to determine which side of each cylinder is up (with the grids either having clues that work the same upside down, or with clues that have different meanings upside down but would have to be used according to their orientation in the final puzzle) and (b) that I wanted to have a rule about the path not being able to backtrack too far down the tower once it has reached a certain height. I have somewhat mixed feelings about the latter. The idea was to give the puzzle a sense of climbing the tower, making somewhat steady progress, as opposed to just noodling back and forth and eventually reaching the top. It also resulted in some additional deductions that could be used for orienting individual floors. However, while constructing the puzzle, I often felt that it was a little too constraining, creating situations that broke for subtle topology reasons that I didn’t actually want to require the solvers to spot. That said, during the event I heard several solvers have some eureka moments resulting from this rule and what it means for the structure of the floors, so ultimately it was probably a good decision.
Next up was picking the genres. This wasn’t fully finalised until partway through the construction, but I settled on most genres to use quite early. I knew I wanted the base layer to be Remaze to make it feel like a hedge maze around the tower. I also wanted the top layer to be Slitherlink as it is one of the most forgiving rulesets on irregular grids, and I knew the top had to be fairly irregular to make it interesting at such a small size.
For the cylinders, the main criteria were that I wanted most floors to care about the path’s orientation and they needed to work with the turn-upside-down gimmick. I also wanted to make sure to include a German genre or two. Originally, I was planning to include number clues with an ambigram font (where numbers might change their value when turning them upside down) but eventually decided against it for a couple of reasons (one being effort to typeset the puzzles and the other being that using such a font in the example puzzle would’ve given away the surprise). So between wanting the puzzles to work upside down and requiring them to care about the direction of the path, I didn’t have a lot of choices left.
Kaisu and Oriental House were locked in pretty quickly, I just really like both of those genres. Before rejecting number clues, I wanted to pick A38 as the German genre… it just seemed somewhat thematic for climbing a tower. After deciding against that, I went with Elbschiffer, which is a fantastically minimal ruleset. And by putting the genre on a cylinder and turning it from a loop into a path, I killed the genre’s standard solving technique.
The Meandering Words variant was also locked in very early. Initially, this was also going to make use of an ambigram font and use a wider range of given letters, but even once I scrapped that idea, there were enough symmetrical letters (and M and W as symmetrical pair) left to make it work.
Around that time I was also playing around with Sertetrominous and noticed that I would be able three of the four possible clues, so I decided to include it as well. Once I started constructing this part of the puzzle, I had the idea for the slightly different Silo ruleset which seemed like a better fit for this context (and I’m really happy with how that turned out).
Finally, I wanted to include one genre with crossings. The main reason being that it would give me an escape hatch for when I would inevitably break the topology of the path somewhere. But it also meant that topology deductions in general would be less powerful and therefore I’d be less tempted to rely on them for the solve path. I also just like keeping solvers on their toes.
My top pick for this would’ve been Turn-and-Run. It’s a German genre and I really enjoy it, but (a) it uses number clues and (b) I didn’t want to have to worry about counting the lengths of line segments that reach one of the circular grids. Next, I considered Vertigo for thematic reasons, but I have no experience constructing those and I imagined they would still be extremely constrained which would make it hard to use it to fix any topological problems. So it had to be an ice genre, and Icebarn/Eisbahn was the obvious choice for a ruleset that cared about path direction but didn’t have number clues.
The only other preparation I did at this point was to design the circular grids in Affinity Designer (a vector graphics editor).
A bunch of time passed, but when I came back from a longer holiday at the beginning of September, it was time to start the actual construction. This took so much longer than I had hoped. Not because the actual construction took more time than expected, but because I was constantly ill for about ten weeks and could barely find the energy to work on this (and when I did, only in short bursts).
This next part will have some spoilers for the solve path.
For the puzzle construction, I knew I wanted lots of progress on almost every floor in isolation, so that the team could work on many parts in parallel, then start assembling the tower, and resolve the remaining seams together. I started with circular grids, as I figured it would be easier if the assembly were anchored to the two known floors. The Remaze resolves completely on its own and while the actual exits from the Slitherlink don’t resolve, they are constrained to a very regular structure which would be easy to check against the edge of other floors.
Next, I made the Kaisu (which at the time only consisted of the 4x4 blocks of regions you can still see if you look closely), which oriented itself and mostly resolved. Then the Meandering Words, which resolves completely. At this point, the topology at the bottom of this floor was so broken that it had to go on top of the Icebarn floor. Then I constructed parts of Oriental House, Silo and Elbschiffer until there was only one option left for each of the top and bottom floors. The order in between also started resolving at this point.
At this point, I decided to try and fix up the topology between Kaisu and Meandering Words and… it was so broken that it wasn’t fixable with the theme I wanted to have for the Icebarn floor. So I had to redo that one with a much simpler theme and it thankfully worked out the second time.
That only left the Elbschiffer section, which also turned out to have broken topology, though in this case only due to how narrow the floors are: this could’ve been fixed without crossings, but there wasn’t nearly enough room to do so. So I discarded all progress on this section as well and remade it from scratch and it just barely worked out.
I considered giving up a few times, but eventually managed to finish the puzzle at the end of October, just four weeks before the event. And there was still so much work left to do.
I quickly wrote some English rules and sent it off to a bunch of solo test solvers. Shout-outs to them for solving this monster on their own, digitally (having to visualise all the orientations and connections) in under a week, and in one case in just over 24 hours. Amazingly, apart from two misplaced arrows the puzzle was working (and unique). I did add a few more regions to Kaisu and a few more clues to Elbschiffer because those sections were giving the testers more trouble than I had hoped.
After that, I made some versions for solving on paper and sent them off for team test solves to see if the solve time would be at all feasible for a live setting. One team of four finished in under two hours (and said for the last half hour they were a bit bottlenecked and mostly down to two solvers) while the other team of two took around three hours. It seemed like two hours might generally be doable for teams of four to five.
However, one thing I couldn’t test is how having actual cylinders would affect the solve times. Not being able to see the entire grids at the same time would surely complicate things, but I was hoping that it would be somewhat balanced by quickly being able to check lots of configurations at the seams, simply by rotating one cylinder over the other. Spoiler: it didn’t balance out.
Meanwhile, I still had to make an example puzzle and build the actual components. I think the example took another week or so. Having smaller grids helped a lot, especially with choice paralysis, and it was fun to be able to explore some logic that I had deemed too complicated for the main puzzle. The solve path of the example is very different as a result. A few sections and topology still gave me some trouble and in the end there were two rules that the example didn’t show (or rather misrepresented), but it was good enough. And also unique first try!
Around the same time, I finally had the beech rods cut into the length I needed. A few of them had some splints from the saw, so first I had to sand them all.
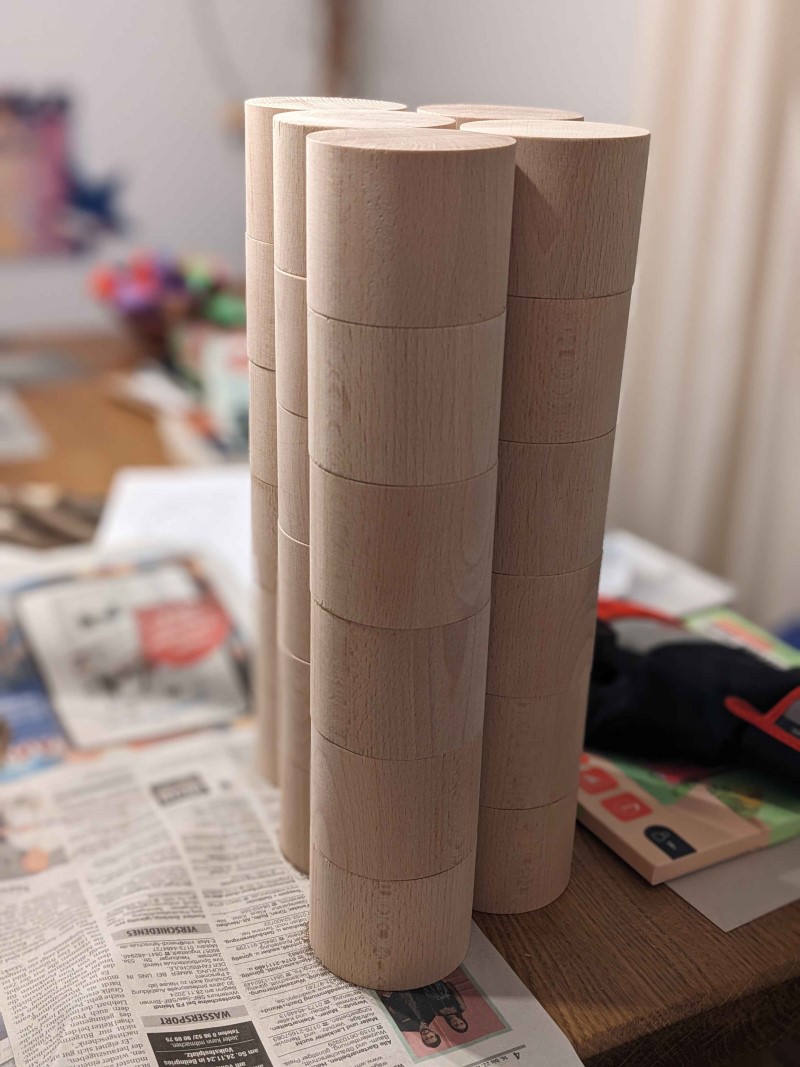
Then I needed to do some post-processing on the puzzle grids. The first thing I did was extremely silly, but I just had to do it: I actually constructed the mirror image of the finished puzzle. When I noticed that the Meandering Words grid would spell “M·W” twice if I mirrored everything, I just had to do it. I knew this was risky, but I just couldn’t help myself. Naturally, I almost forgot to swap all the clues on the Elbschiffer grid (the only ruleset which can’t just be mirrored here), but luckily I realised the issue just in time.
For the actual post-processing, I exported SVGs from Penpa and loaded them into Affinity Designer. When you do that, dashed lines are missing the phase parameter, so they all look unbalanced. That was easy enough to fix. The bigger issue was how to make the rotationally symmetric letters work. I needed a font where M and W are the same but rotated, and where S has rotational symmetry (as well as all of HINOZ, but these were generally not a problem). And ideally the font should look as normal possible, so as not to raise any suspicions in the example puzzle.
It was pretty tough to find a font that works for M/W and downright impossible to find a symmetrical S (in the time I was willing to spend on this). Thankfully, Windows’ built-in monospaced font Consolas almost does the job, and using a monospaced font for a genre requiring a word bank is a good idea anyway. M and W are indeed the same but rotated. All of HINOZ (and probably also X, but I didn’t check) are self-symmetric. Only the S has a very slight asymmetry, but the discrepancy was small enough that I could hack it by overlaying a 180° rotated copy on top of each S:

You can see tiny artifacts at the ends in the screenshot, but it’s pretty much imperceptible in the printed puzzles.
Finally, I also had to tidy up the circular grids: originally I had just placed the clues anywhere within their cells, but I wanted them to be properly centred, and in the case of X and numbers, properly rotated around the centre of the grid. For the example solution, I also had to redraw my freehand solution with circle arcs which was a huge pain, but I got it all done in time.
With the grids ready for printing, I could finally put build the actual puzzles. After a test print, I noticed that the cylinders were a tiny bit thicker than expected (maybe around half a millimetre but it meant that the circumference was about two millimetres longer than expected, which would’ve resulted in a noticeable gap). I decided to simply scale up the grids by 1% horizontally. It’s probably not noticeable anyway, but I figured with the curvature it might even be desirable to make the cells slightly wider than square to counteract perspective distortion a bit.
I used an old paper cutter I had recently got from my grandma to cut the paper strips as cleanly as possible:
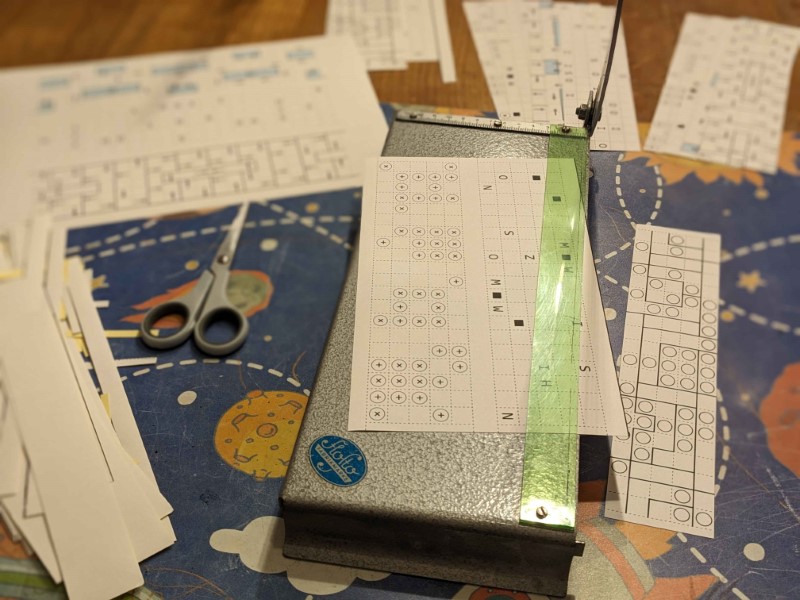
I was very worried about being able to paste these really long strips onto the cylinders while keeping them level and considered a few options to try, but ultimately the way to go was just to set the cylinder on the table and use the table surface as a guide to make sure the paper remains straight. I only had to redo two or three of the thirty cylinders I made, all the others ended up being good enough first try. Here is the very first cylinder I finished:
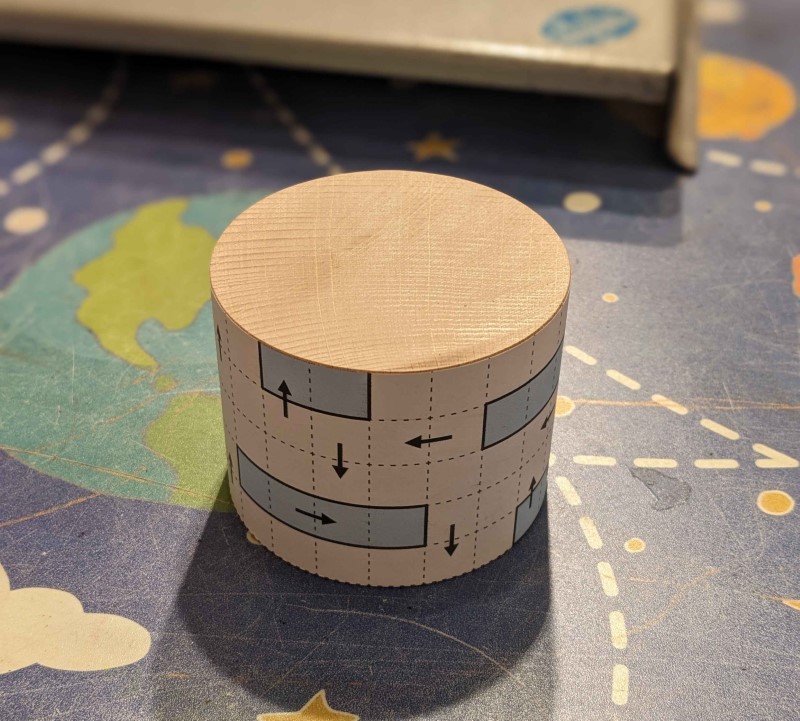
You can’t see it in this photo, but the seam on most cylinders actually lines up perfectly with no or almost no gap. 29 cylinders later, I was done with the scary part and all that was left to do was print and cut the circular grids and word bank:
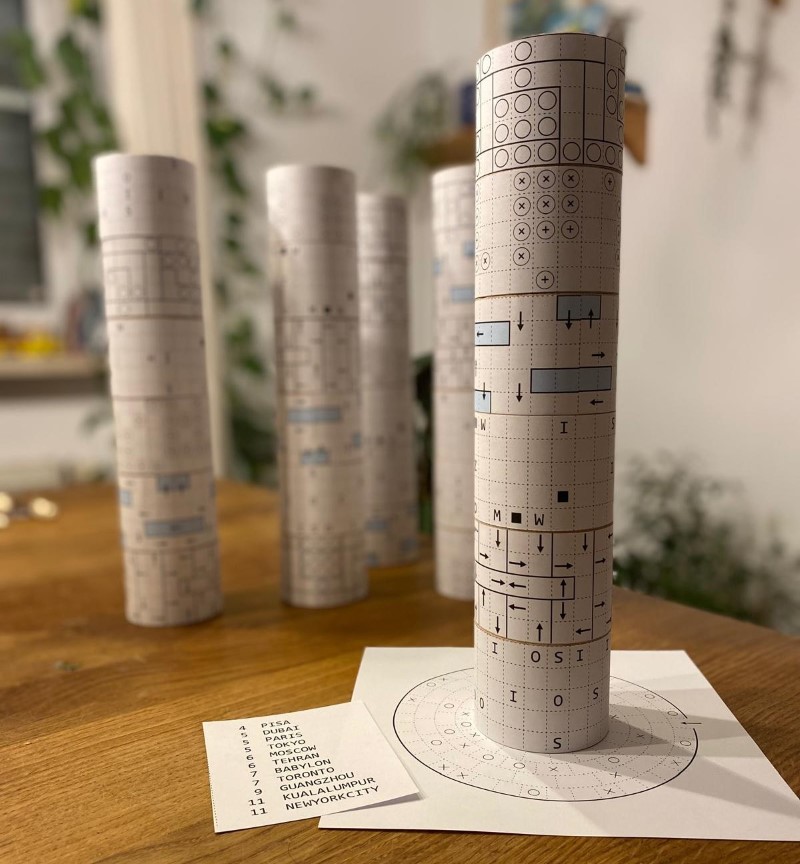
For transportation to Kassel, I rolled up each set of cylinders in some canvas I had lying around, so the paper wouldn’t get damaged or smudged. Which brings us to the big day!
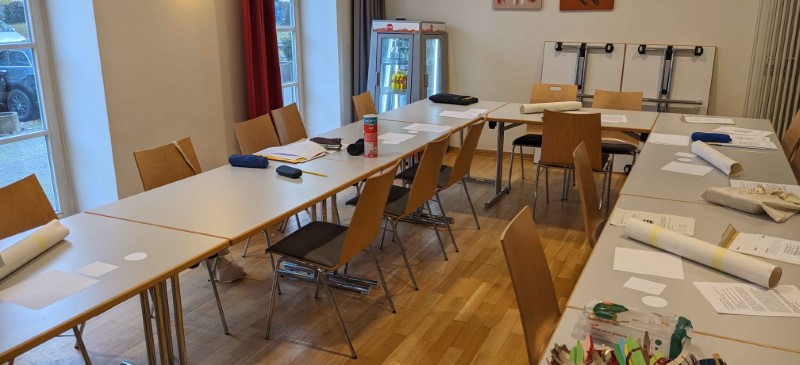
Originally, the plan was to run this as a team competition, but I had some last-minute concerns about that. For a start, I wasn’t confident that a lot of teams would finish within the given time, which would feel more frustrating in a competitive setting. I also didn’t want to enforce fair team compositions and would rather let people form teams with friends they would enjoy solving the puzzle with. So we turned it into some informal team-based puzzle solving where teams could also ask for hints, confirmations or have me check how much to erase when they ran into a contradiction. I think that was the right call.
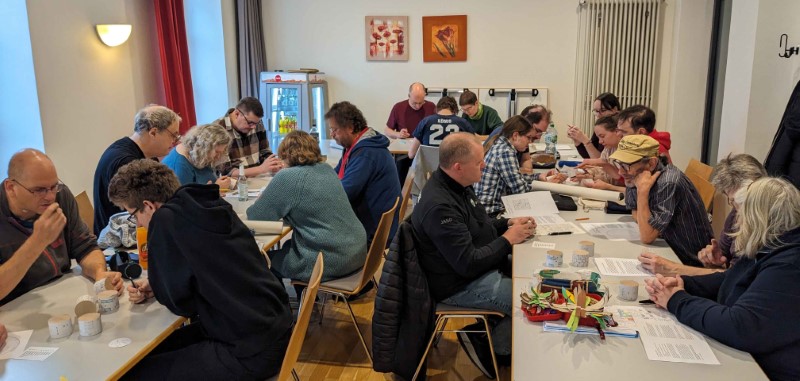
Only one team finished and they needed the full two hours (this team consisted of only three people, but those three people were Christian, Ulrich and Verena). That said, I got the impression than none of the other teams really got stuck on anything, so at least they had two hours of making steady progress on the puzzle and hopefully enjoyed themselves. So I think the difficulty level was about right, the puzzle was just a little too big (or the available time a little too short).
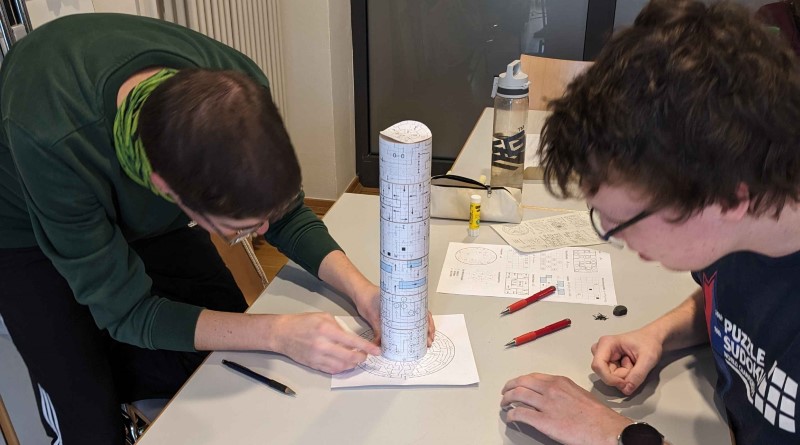
Overall, I’m extremely happy with how this project turned out. If I had had more time, I’m sure there are things I would have done differently (such as not resorting to the given unused cells in the Meandering Words grid), but I imagine some form of that is always true. I think I would like to do a project like this again in the future, but not any time soon.